
These 13 Street Photography Techniques To Try are from my own experiences. My opinion and I try to give as much valuable advice as I possible can using examples of my photographs and how I went about in making them. If you’re new to street photography, let me tell you I know how you feel. It’s no easy task. You’re afraid to photograph out in public. You’re paranoid about looking like a creep or possibly getting yelled at. Or maybe you just don’t know what to look for. If you’re an experienced shooter but currently are having a photographer’s block then this article may still pertain to you.
I truly believe that the only way we can become better photographers is if we study the work of other artists and experiment with different styles and philosophies. Here are 13 tips to either get your feet wet in street photography or to re-inspire your photography. Enjoy!
1. Embrace the Mundane
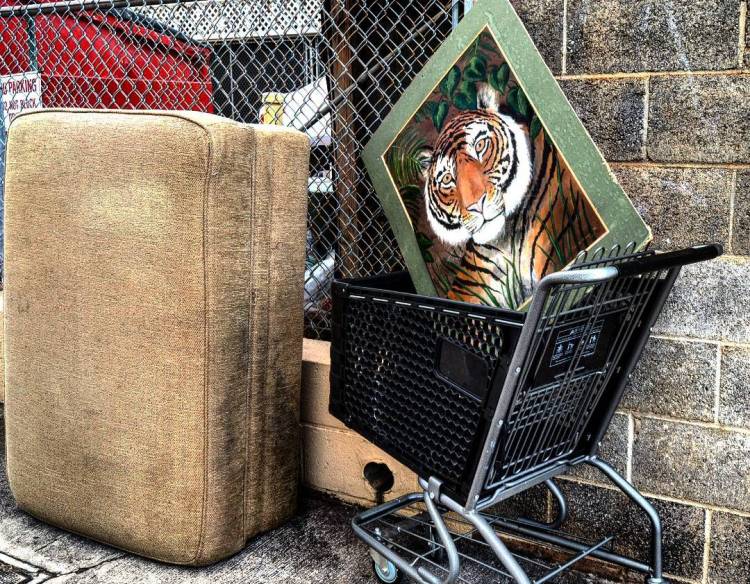
The mundane approach to street photography is a very zen like approach and is a reminder that there are no rules in street photography. Shooting the mundane makes you appreciate life and lessens the stress of hoping to encounter interesting characters on the street or relying on something dramatic to happen in public. William Eggleston was the first photographer to really open my eyes that street photography can be really anything, it doesn’t need to have a physical person in the photo but clearly just about documenting one’s surrounding. If it wasn’t for Mr. Eggleston I probably wouldn’t have taken the photo above or better yet pay any attention to it.
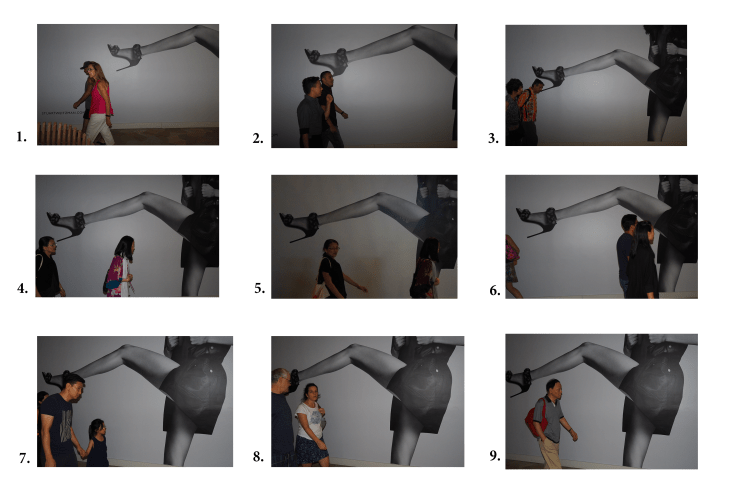
2. Work the Scene

If you come across an interesting character, situation, scene, backdrop…or anything that catches your eye really…and if time allows, keep photographing…continue to click that shutter button until the scene dissolves and you can no longer take any photos. Try different angles. Get close. Go further away. That way you’ll have more options and perspectives to look and choose from. The more you photograph and work the scene you increase your chances of making a good photo (Read My Blog On Laws of Averages).
3. Fishing Technique & Juxtaposition


Patience is a virtue…This is by far my weakest technique, I am not much of a patient person. My max on waiting around a corner or in front of an interesting wall art or billboard is about 10 minutes. Then I move on. The fishing technique is a classic street photography approach. Simply find or identify an interesting background and wait for the perfect subject to enter the frame to create juxtaposition or evoke an emotion that’s commonly seen in the street photography world such as humor. You could even follow an interesting character and wait till they walk past an interesting background. Obviously, the number one skill to have in this technique is patience.
4. Street Portraits

I call this technique the ice breaker. If you are new to street photography perhaps you may want to start off with this approach. Street photography can be intimidating and taking photos of strangers while trying to look invisible can be a lot to ask for in a beginner. So in that case in order to ease yourself into the process, start by identifying interesting people, faces, their attire. Anyways, something about them or what’s on them resonates with you. Simply go up and ask if you can make a portrait of them. Remember you going up to your high school sweetheart and asking him or her to go with you to prom. Nerve racking wasn’t it. But what’s the worse that can happen. What doesn’t kill you makes you stronger. Okay okay I’m getting all preachy back to reality, so yes give them a compliment and if you are feeling pretty good then tell the person you can email them the photo you just made the following day. Many people will either turn you down or they will simply feel flattered and accept. If the person is not in much of a rush, work the scene, shoot from different angles. High. Low. Direct your subject. Have fun!
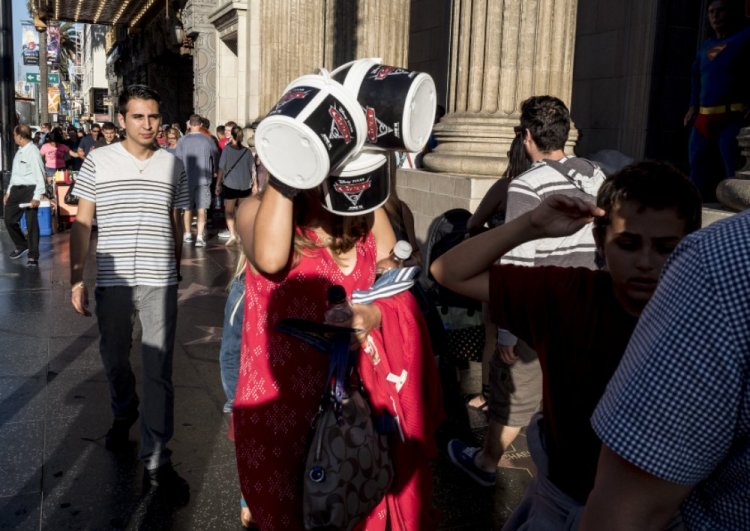
Now if you don’t want to waste your time asking for permission then just identity a face you find interesting and take the photo as you walk past them and continue on. The person won’t even notice you making a photograph of them and if they do you’ll be power walking into the crowd (photo above is an example).
5. Don’t Make Eye Contact

Just shoot in their direction and don’t even look their way. Look past them as if you were photographing something or someone that’s behind them. Fiddle with your camera as if something is wrong with it or you don’t know how to operate the camera. Get your acting skills ready, yes improv is useful while on the streets!
6. Compliment & Smile

If you happen to make eye contact then simply compliment, smile, and move on. Better yet, just don’t say anything and continue walking. However, you’d be surprise at the power of compliments. I could use some myself.
7. Try Using Flash

If lighting or weather is an issue in your location or if you’re just lazy to shoot in good light then use flash. I have been using flash lately to mix things up and help me get over my photographer’s block (You can view my vlog episode on that here).
I am having a lot of fun using flash, I like how it makes my image pop and much more vibrant. It also forces me to get closer to my subjects in order for the flash to be in full effect. I set my camera in M-Mode or Manual, set the iso to auto and have my f-stop around f/5 -f/8, adjust the shutter accordingly depending on what I’m photographing and whether or not I am able to execute the slow shutter look effectively.
Yes, flash is more noticeable but again I have not come across any issues yet (knock on wood).
8. Shoot at Night

Shooting at night can be a challenge. First I recommend using flash to get decent lighting. Shooting at night with flash is more noticeable than in the day. From my experience night shooting is more about the people that are out and their behaviors. You’re more likely to come across some interesting situations depending what environment you’re at.
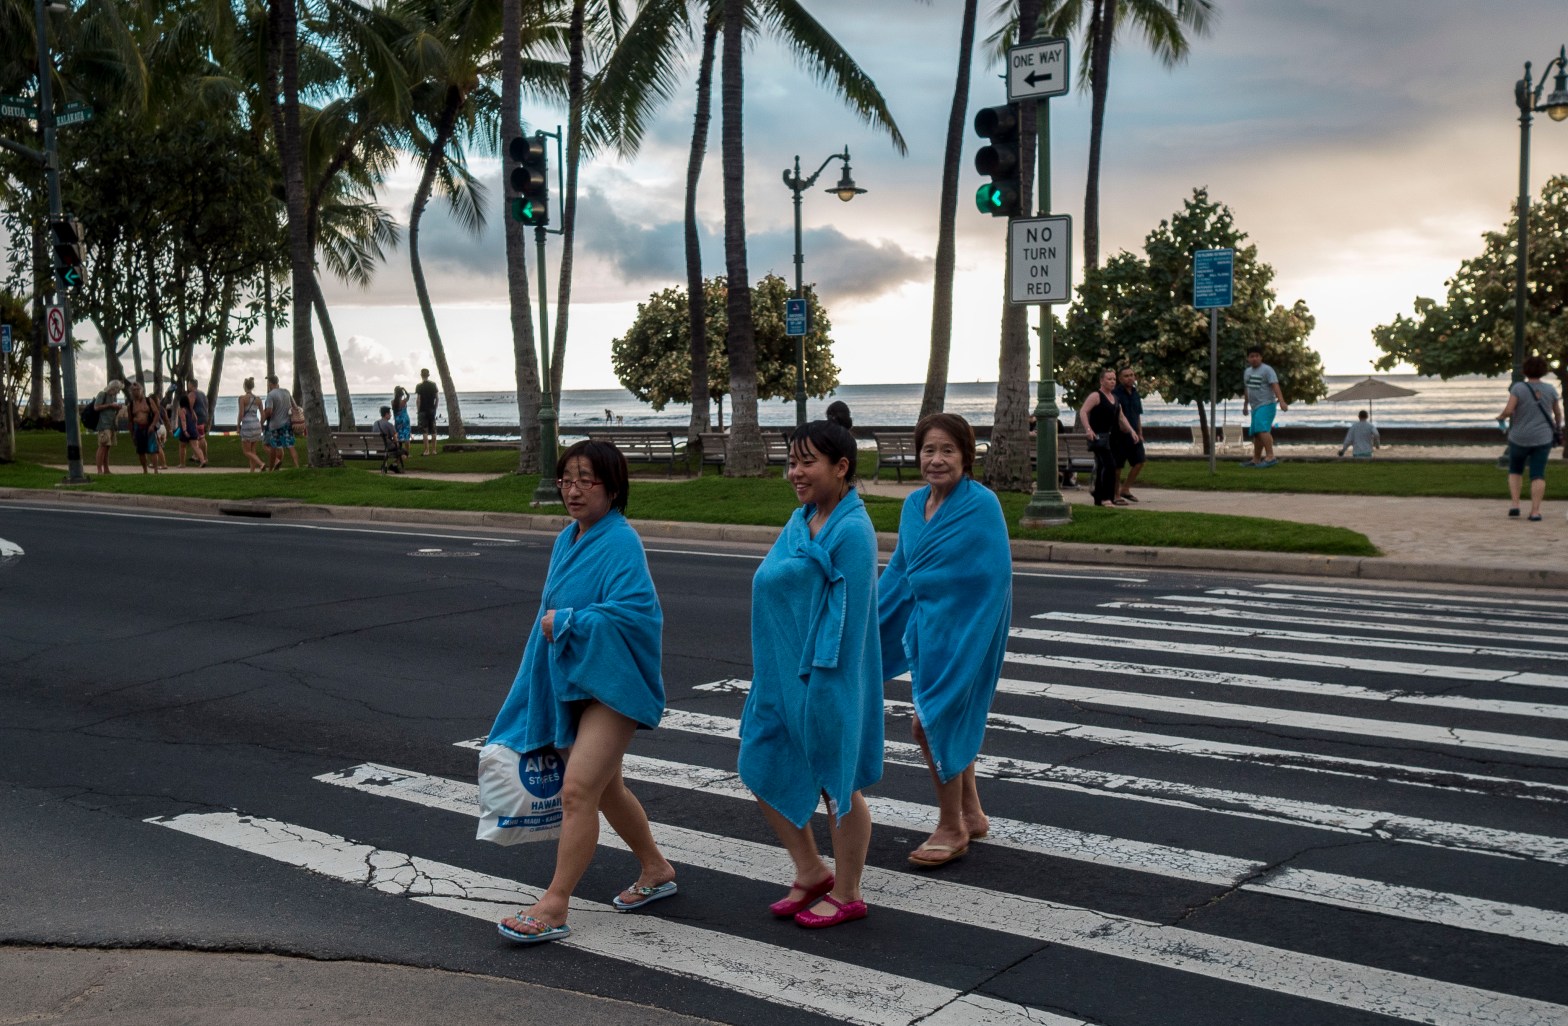
9. Shoot During SunSet

Shoot during sunset cause that’s when the light is perfect! It’s not harsh as the afternoon sun, the tricky part though is finding the light. Where is the light hitting. Once you find the area or street and if there’s a lot of foot traffic walking by I would say just plant yourself there until you lose the sun.
10. Shoot When It’s Raining

Before you go out with your camera in the rain make sure to cover it up. You can easily do that by wrapping your camera up with a plastic bag. Shooting in the rain makes for interesting moments, people hopping over puddles, rushing to get out of the rain, umbrellas, and just pure chaos! I like the roads being wet, to me it makes it look more dramatic and ultimately adds to the mood in your image.
11. Hunter Mentality

Just shoot and move on. Click and go. Read my blog post here on Clicking vs Seeing.
12. Smooth Criminal


Be like Aaron Berger who is the smoothest guy when shooting the streets. The ideal scenario is to shoot and blend in with the crowd, your surroundings. And not be noticed. Be confident with each shot, have your camera already near or at least by your chest area. That way when you do find something you can bring the camera’s viewfinder to your eye very quickly rather than having your camera dangling by your waist and creating a big motion that will ultimately attract unneeded attention.
13. Follow Follow Follow!!!
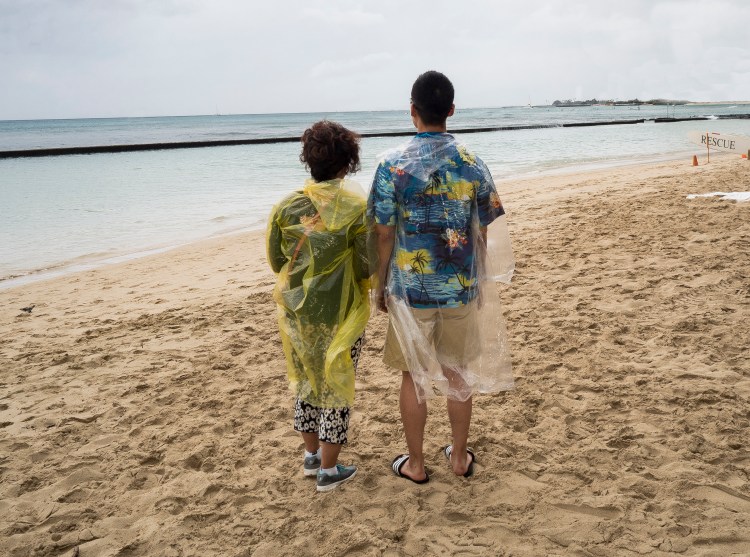
When you find something interesting but haven’t pieced together anything interesting whether that be in the foreground or background then follow your subject. For example the photo above, I seen them from behind on the sidewalk. I really liked the vibrant aloha shirt the man was wearing and the plastic coverings (it was raining that day). I followed them for about thirty seconds or so maybe even less. As soon as I noticed they were walking towards the sand I got a little overly excited. The beach was empty for obvious reasons having pretty heavy showers throughout the day. Soon after the couple just paused to take in the overcast view and I took a few snaps. I really like this photo because I can create my own narrative in my head. I can ask more questions than receive answers. I also really like in the far right that there’s the surfboard with “Rescue” on it.

Conclusion
Again these are practical tips to list and techniques that I have used or experimented with in the past. Take it with a grain of salt. Remember, always experiment and continue to learn, you never know what may come out of it. My advice is to try to focus on one or two of these tips/techniques for a few weeks and see what you walk away with. If nothing clicks then simply move onto the next. I hope this was a fun, inspiring, and informative read. Now go out and shoot!
About The Author
Tim Huynh is a photographer born, raised, and based in Honolulu. This article was created out of Tim’s passion for street photography.
He was a 2017 finalist in Streetfoto San Francisco International Festival and his photography have exhibited in Paris, France, as well as publications such as Honolulu Civil Beat. Tim’s objective is to create images of the raw, comical, interesting, surreal, and candid moments of life in through street photography.
Adding this donate button. Any donation will be greatly appreciated. Your monetary donation will be used for coffee and photobooks. Mahalo

